
An epoxy floor rarely fails because of the color that was chosen or because the last coat was not thick enough. It usually fails lower down, where the coating meets the concrete.
If the slab is weak, contaminated, damp, or too smooth for the coating to grip, the bond may never fully develop. Mistakes in mixing, poor conditions on the day of installation, and traffic before the system has cured can add to the problem.
This guide explains what the different kinds of visible damage actually are, how to work out roughly where a floor let go, and what a careful installation does to prevent it.
What People Mean by "Peeling"
Peeling is a catch-all word. What is actually happening on the floor usually falls into one of a few categories, and they do not all have the same cause or the same fix.
- Delamination. The coating separates from the concrete or from another coating layer. It often comes away in sheets or patches and can sound hollow when tapped.
- Blistering. Bubbles or raised pockets form under the coating. The surface may still be unbroken.
- Flaking and chipping. Small pieces break away, usually starting at an edge, a crack, a joint, or a damaged spot.
- Wear-through. The coating is gradually worn away by traffic until concrete shows. This is abrasion rather than a bond failure.
- Hot-tire pickup. A warm tire lifts the coating off the floor.
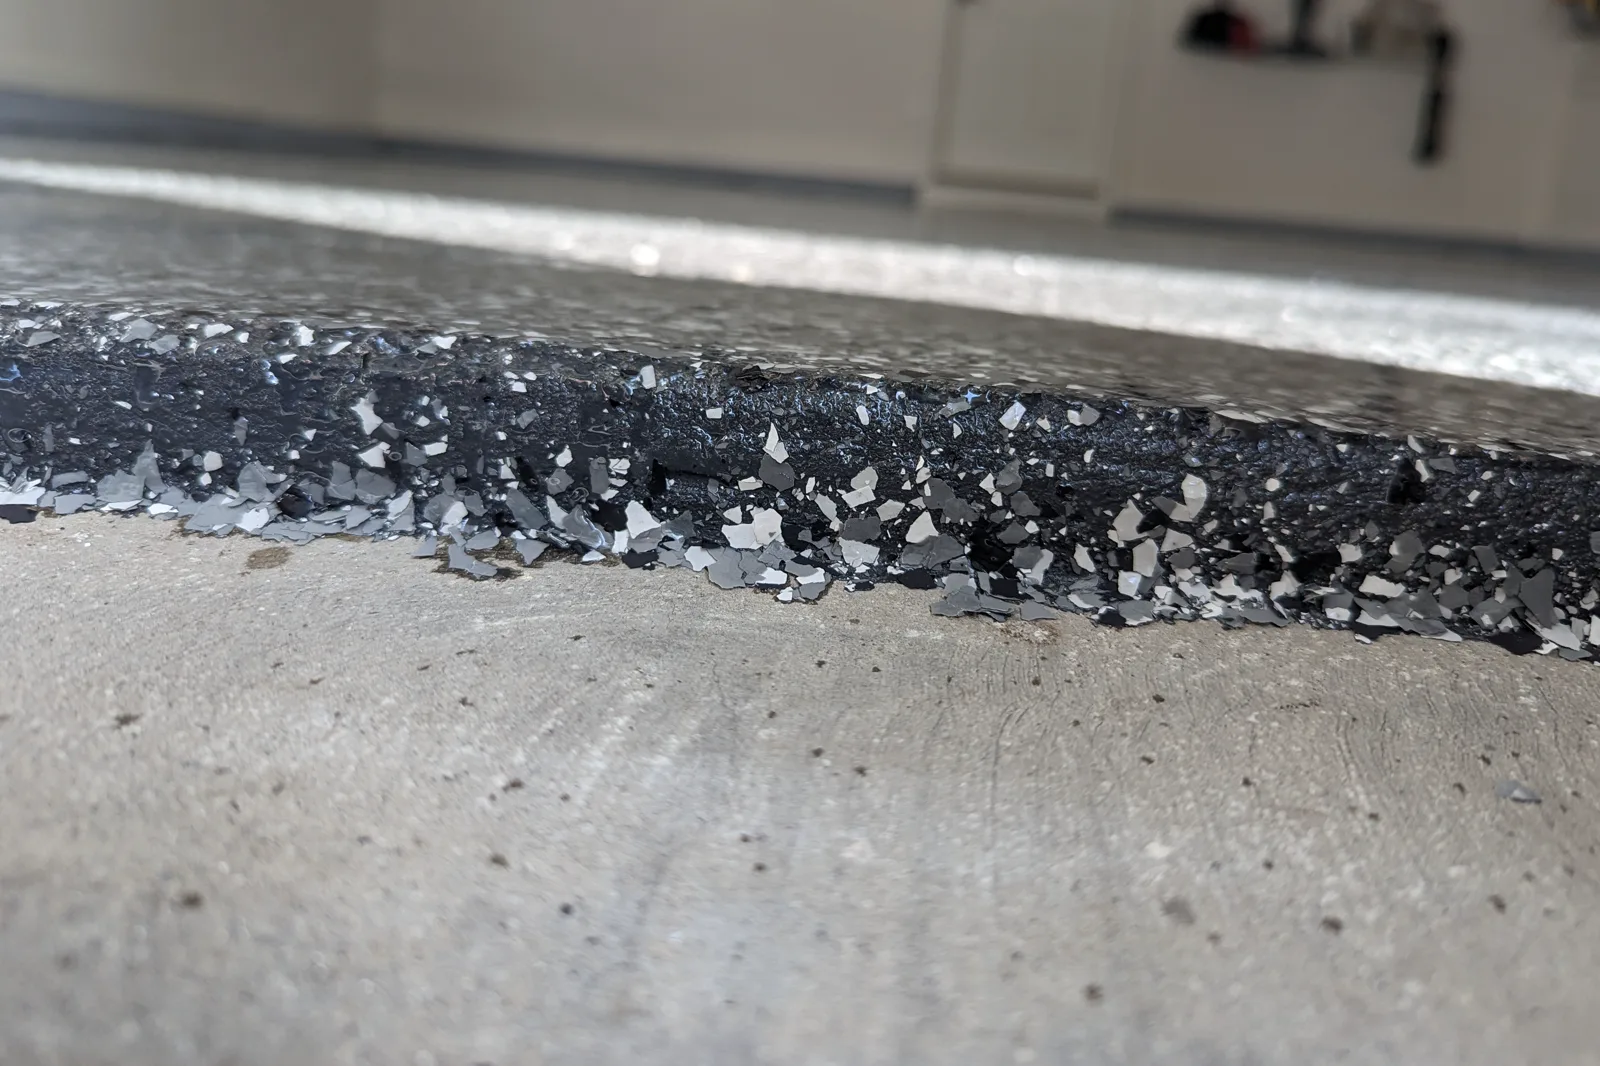
The most useful distinction for a property owner is between separation and wear. A separation has an edge you can find: there is a definite line where bonded coating stops and loose or missing coating starts, and the loose material has a measurable thickness. Wear-through has no such edge. It thins gradually, usually follows the route people or vehicles take, and fades into the coating around it.
A floor can show more than one of these at once. A worn traffic lane and a delaminated patch in a corner are different problems with different answers, so it is worth looking at each area separately rather than describing the whole floor as peeling.
Hot-Tire Pickup
Hot-tire pickup is the failure most garage owners have heard of, and it is worth separating from the rest.
Tires warm up while a vehicle is driven and stay warm for a while after it is parked. Some coatings soften slightly as they warm. If the grip between a warm tire and the coating is stronger than the bond between the coating and the concrete, the tire can lift the coating when the vehicle is moved.
It usually appears as patches roughly the size and shape of the tire contact area, in the spots where a vehicle habitually parks. Because it depends on the strength of the bond underneath, hot-tire pickup is generally treated as a symptom of a preparation or product-selection problem rather than a defect in its own right. Coating chemistry and film thickness also affect how well a floor tolerates warm tires, which is one of the practical differences between coating systems.
Where the Floor Actually Let Go
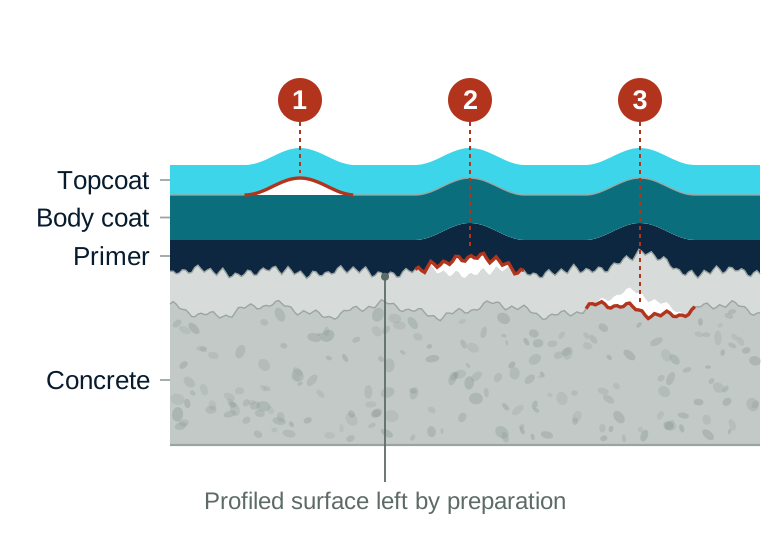
When a coating comes loose, the separation happens at a particular plane. Working out which plane is the most useful thing you can do before calling anyone, because it narrows the likely causes considerably.
There are three common places for a floor to separate.
1. Between two coating layers. The system splits somewhere inside itself. The piece that comes away has coating on its underside, and the floor underneath still has coating on it. This points toward how the layers were applied to each other: recoat timing, contamination between coats, or an incompatible combination of products.
2. At the boundary between coating and concrete. The coating comes away as one piece. Its underside is smooth and mostly clean, and the concrete revealed underneath looks smooth, sealed, or shiny rather than open and textured. This points toward preparation, or toward something on the slab that stopped the coating bonding.
3. Inside the concrete itself. The coating stays intact and brings a thin layer of concrete up with it. The underside of the loose piece is rough and gritty with concrete attached, and the crater left behind is rough rather than smooth. Here the bond did its job. The weak part was the top of the slab.
What you can check yourself
If a piece is already loose, turn it over and look at the underside. If pieces are still firmly attached, leave them alone.
- Coating on the underside points to a problem inside the coating system.
- A smooth, clean underside over smooth concrete points to preparation or contamination.
- Concrete stuck to the underside points to weak concrete near the surface.
Photograph the underside, the crater, and the wider area. Note where on the floor it is happening, whether it follows traffic, and whether it is near a wall, a joint, a doorway, or a damp spot.
Do not pull up more material to investigate. Removing sound coating makes the eventual repair larger and can turn a contained problem into a full replacement. A few photographs and one already-loose piece give an installer most of what they need for a first assessment.
Why the Bond Is Often Not the Weakest Link
The third case above surprises people, and it is common enough that manufacturers report it in their own testing.
Sherwin-Williams publishes adhesion figures for its Resuflor Deco Flake SB, Deco Quartz DB23, and Topcoat Metallic II flooring systems of 450 psi tested to ASTM D4541 and 732 psi tested to ASTM D7234. Both results are recorded as concrete failure, meaning that in those tests the concrete broke before the bond between coating and concrete did.
Those figures describe those particular systems under laboratory conditions. They are not a rating that transfers to every epoxy floor, every product, or every slab, and no laboratory number predicts what one specific garage floor will do. The useful part is the direction of the result rather than the number: on a sound, properly prepared slab, the limiting factor can be the strength of the concrete surface rather than the coating's grip on it.
That is why a professional installation spends so much of its time on the concrete rather than on the coating.
Why Mechanical Preparation Matters
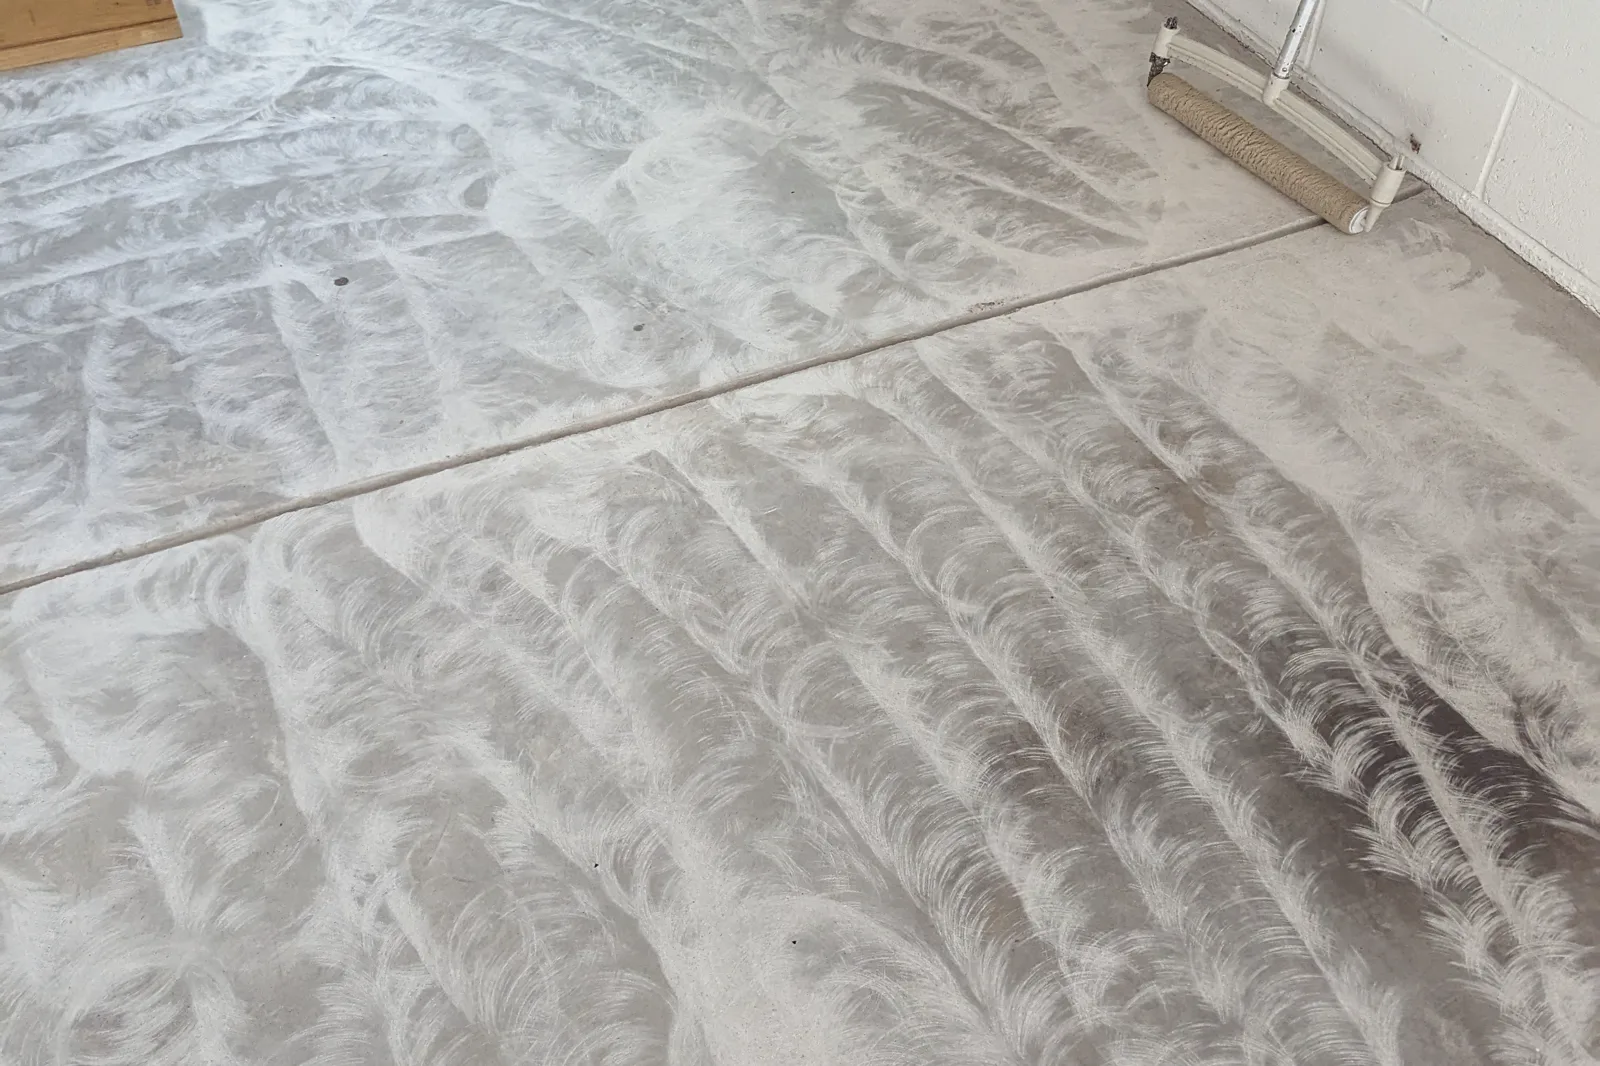
Concrete can look clean and still be a poor surface to bond to.
The top of a slab is not quite the same material as the concrete below it. Finishing work brings fine cement paste to the surface, and that layer, often called laitance, is weaker than what lies underneath. Slabs may also carry curing compounds, sealers, old paint, adhesive, or previous coatings that nothing will bond through.
Professional installers usually remove that material mechanically, by diamond grinding or shot blasting. The purpose is not to scratch the floor. It is to take off weak and foreign material until sound concrete is exposed, and to leave that concrete open enough for the coating to key into.
Washing, pressure washing, acid etching, and light sanding do not generally achieve the same result. They can clean the surface without removing the weak layer beneath it, which leaves the coating bonded to something that was never strong enough to hold it. What concrete surface preparation involves on site, and what a proposal should say about it, is worth understanding before comparing contractors.
What surface profile actually means
Surface profile is the texture left behind after preparation. The easiest way to picture it is the difference between gluing something to a pane of glass and gluing it to fine sandpaper.
Two things change when concrete is opened up. The coating gains texture to grip mechanically instead of sitting on a smooth face, and the real area of contact between coating and concrete increases, because a rough surface has more surface than a flat one.
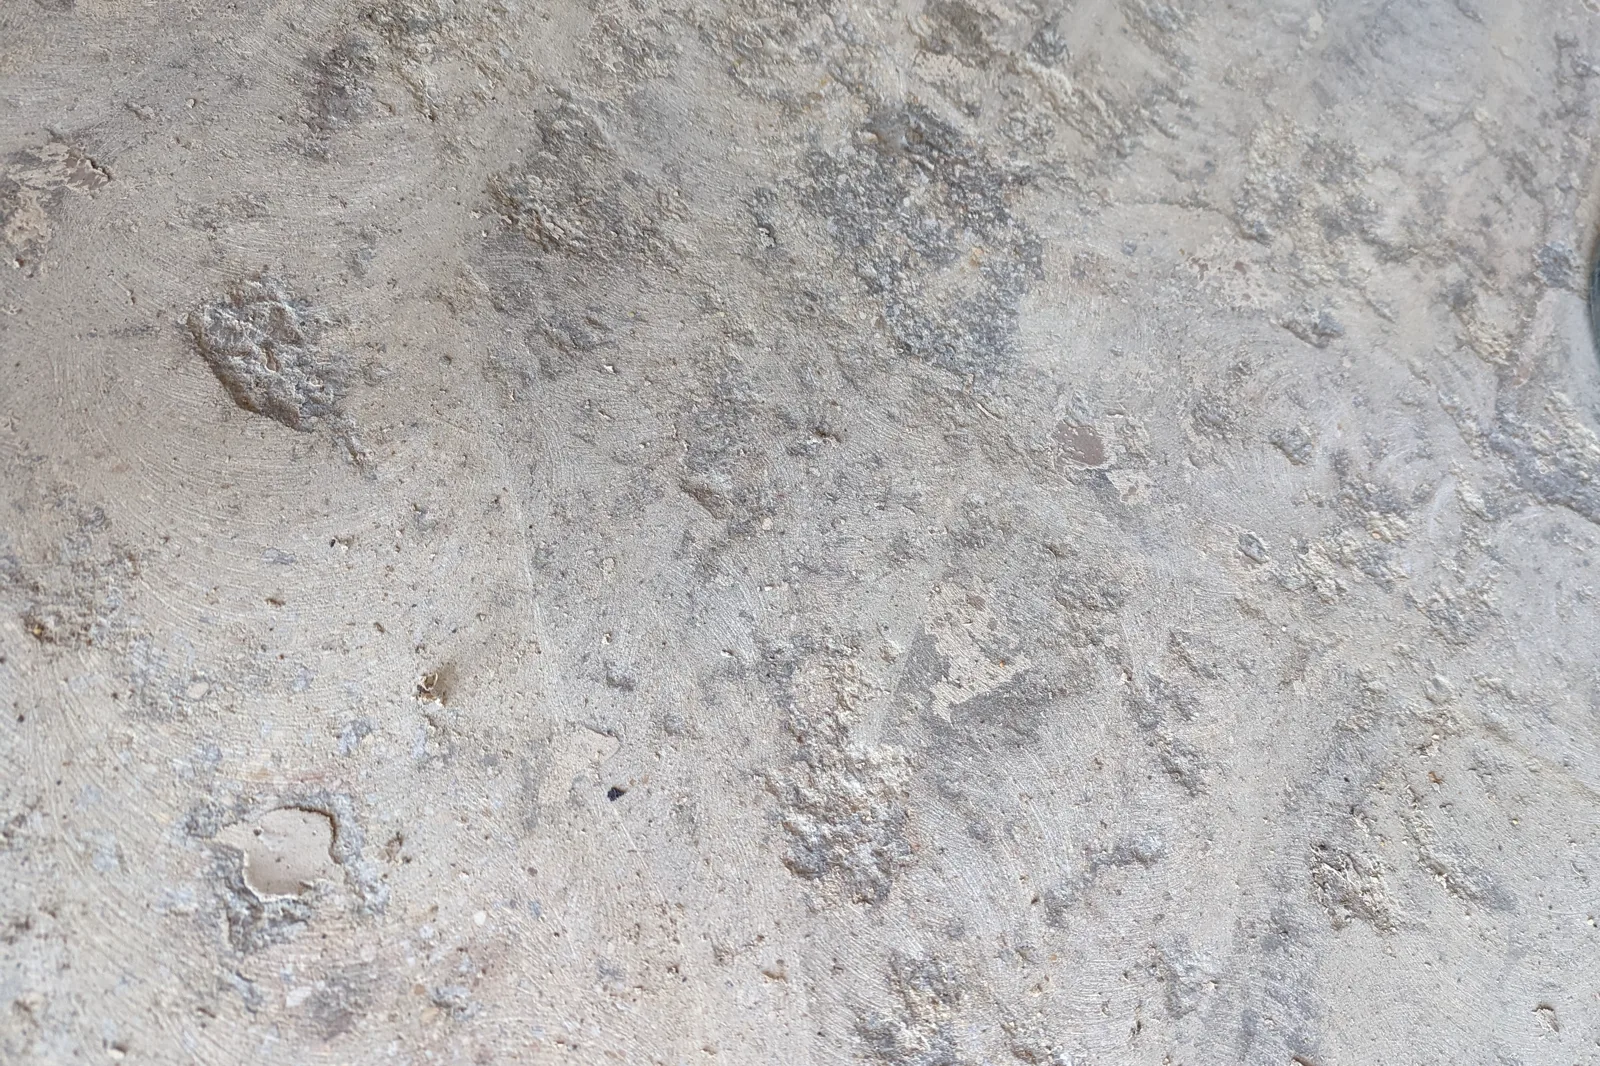
How much texture is appropriate depends on the system being installed. A thin coating needs less profile than a thick, high-build one, and an aggressive profile can telegraph through a thin finish. This is a specification question rather than a matter of taste: the coating manufacturer states what its system requires, and it is fair to ask an installer to put the intended method in writing before work starts. The professional installation process covers how preparation is carried out on a typical job.
Contamination That Stays Behind
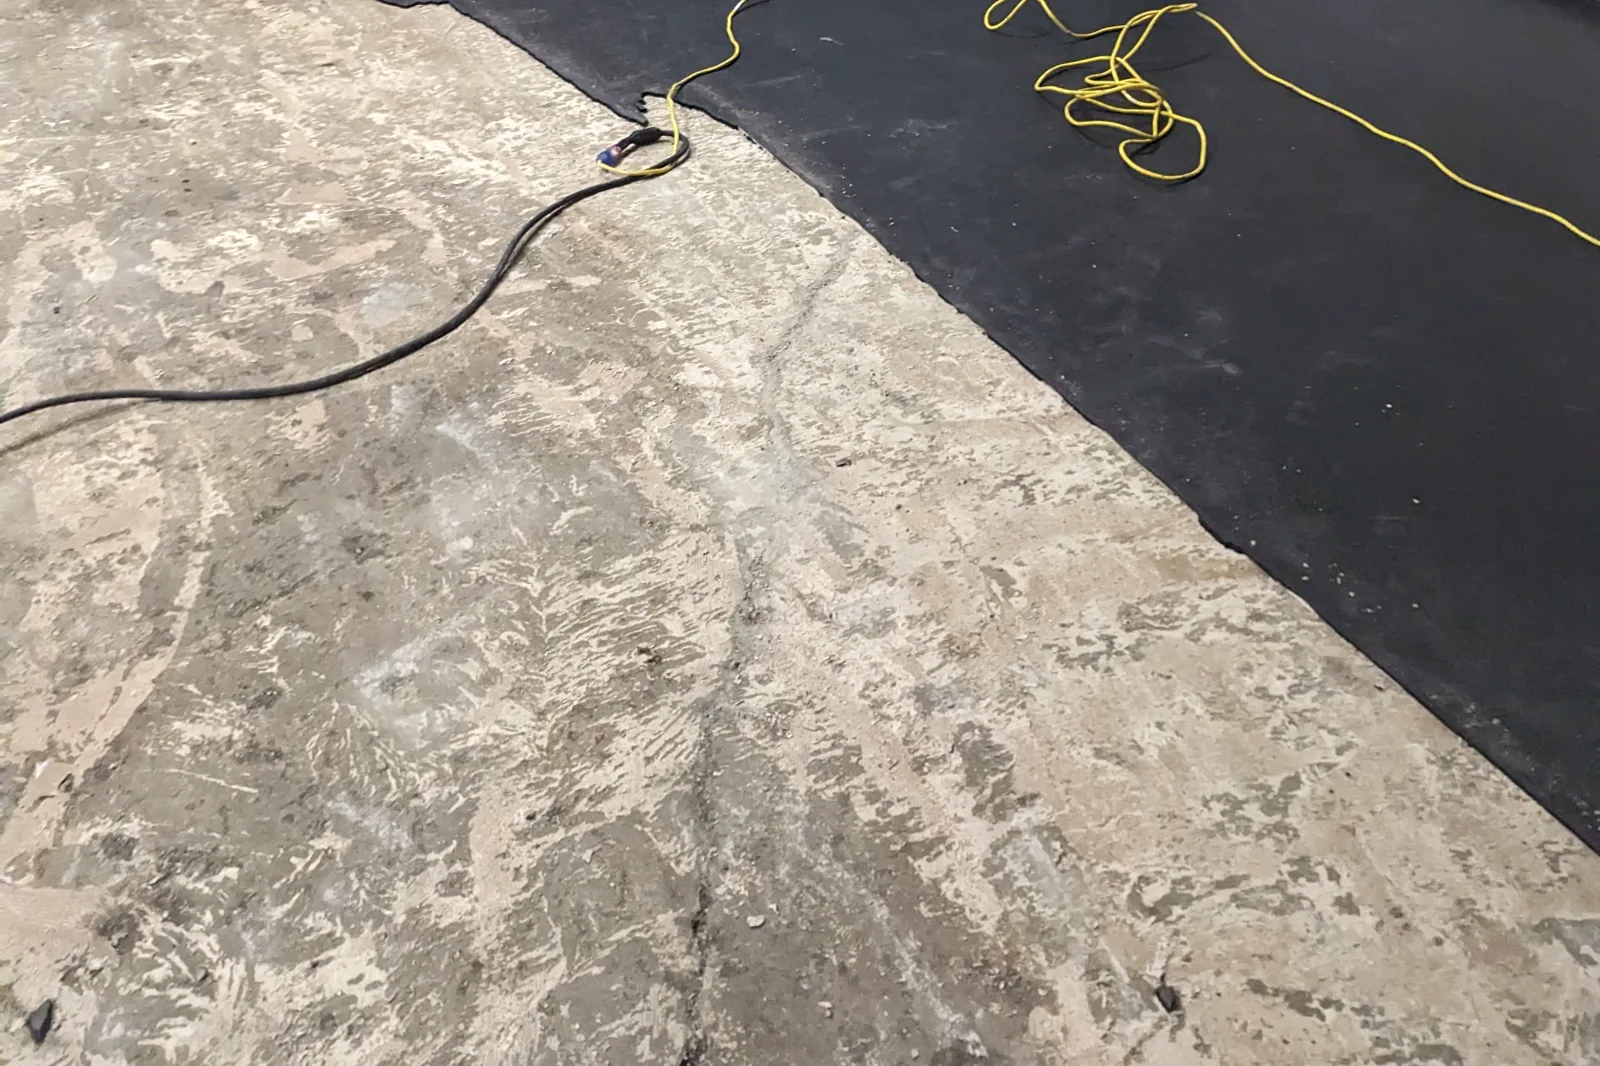
Garages, workshops, and commercial spaces collect substances that soak into concrete. Motor oil, transmission fluid, grease, silicone sprays, tire dressings, waxes, cleaning products, and previously applied sealers can all penetrate the surface and interfere with bonding.
Adhesive left behind when older flooring is removed is a related problem, though usually a visible one rather than a hidden one.
Contamination is awkward because grinding removes a certain depth of material, and anything that soaked in deeper than that can still be there afterwards. A slab can look completely clean and still release a coating later.
Where contamination is suspected, an installer may clean the area repeatedly, remove more concrete, use a primer intended for the situation, or advise that part of the slab is not a dependable surface to coat. Establishing this before installation is far less expensive than discovering it after.
Moisture Moving Through the Slab
Concrete can be dry at the surface while moisture travels upward through it from below. When a coating with low permeability goes over a slab in that condition, moisture can collect underneath, contribute to blistering, and weaken the bond.
Moisture is more likely to matter when:
- The slab was built without an effective vapor barrier
- Water drains toward the building rather than away from it
- The concrete is new and has not yet dried sufficiently
- Groundwater or seasonal humidity affects the slab
- A previous floor covering trapped moisture underneath it
Looking at a floor does not rule any of this out. There are established methods for measuring moisture conditions in and above a slab, including tests that measure relative humidity inside the concrete and tests that measure how much moisture is leaving its surface. Which test is appropriate, and what result is acceptable, depends on the coating system being considered.
Where readings exceed what a system allows, the answer may be a product designed for moisture mitigation, a different flooring system, or drainage work outside the building. It is worth being plain about the limits here: no coating stops a slab being damp, and not every moisture condition can be solved by adding another product on top of it.
Concrete That Was Already Weak or Damaged
A coating bonds to the surface it is applied to and inherits that surface's strength. Where concrete is dusting, crumbling, spalled, or breaking up, the coating can pull that weak material away with it.
Cracks, pop-outs, surface voids, and deteriorated areas are usually easier to judge after preparation, because grinding exposes the true condition of the slab. Unsound material has to come out, and repairs need to be compatible with the coating system going over them.
Coating a damaged slab can hide the damage for a while. It does not repair it, and it does not stop the slab moving.
Mixing, Conditions, and Timing
Three installation factors account for a good share of preventable failures.
Mixing. Most professional flooring products come in two parts that have to be combined in the correct ratio and mixed thoroughly for a specified time, including scraping the sides and bottom of the container. Estimating the ratio, mixing too briefly, using unmixed material from the edge of a bucket, or thinning a product that is not meant to be thinned can leave a coating that stays soft, cures unevenly, or never bonds properly.
Conditions. Coatings cure through chemical reactions that are sensitive to temperature and humidity. A slab that is too cold slows curing, and one that is too warm shortens the working time available. Condensation is a particular risk, because moisture can form on a cool slab even when the room feels dry. Manufacturers publish acceptable ranges for air temperature, surface temperature, humidity, and dew point.
Recoat timing. Multi-layer floors have a window between coats. Apply the next layer too early and material that is still reacting can be trapped underneath. Apply it too late and the previous coat may have cured too hard to bond chemically, so it has to be abraded and cleaned first. That window differs between products and shifts with temperature, so one manufacturer's schedule cannot be assumed to apply to another's system.
Traffic Before the System Was Ready
A floor can feel dry long before it is ready to be used. Walking on it, dragging equipment across it, or parking on it too early can mark the surface, weaken layers that are still curing, and cause damage that only becomes obvious later.
There is no universal answer to how long any of this takes. Return-to-service times depend on the specific products installed, the number and thickness of the layers, and the conditions on site, so the only schedule worth following is the one supplied for the floor in question. A responsible installer provides it in writing, with separate times for foot traffic, heavy items, and vehicles.
Can a Peeling Floor Be Repaired?
Sometimes. The useful question is not whether a patch is possible, but how much of the floor is still well bonded and whether the cause has been identified.
An assessment looks at the extent of the problem rather than only the visible damage. Tapping across the floor can reveal hollow-sounding areas where the coating has released but has not yet lifted, and the edges of a failure are checked to see whether the surrounding coating is still sound. Adhesion testing may be used where the extent is unclear.
A spot repair is reasonable when the failure is contained, the coating around it is firmly bonded, and the cause is understood and can be corrected. The failed material is removed back to sound coating, the exposed concrete is prepared again, and compatible layers are rebuilt.
Removal and replacement usually makes more sense when:
- Failure appears in several separate areas rather than one
- The cause affects the whole slab, such as moisture or widespread contamination
- The separation is happening inside the concrete rather than at the coating
- Repeated patches have already been tried
The economics matter here too. A repair that leaves the underlying cause in place tends to fail again, and doing the work twice usually costs more than doing it once properly. What either option costs depends on how much material has to come off, the condition of the slab underneath, and what system replaces it, which is why coating work is priced per project rather than from a rate card.
One thing is worth avoiding in every case: applying fresh coating over a loose edge. The new material bonds to the old coating rather than to the concrete, and the separation carries on spreading underneath the patch.
What Careful Installation Does Differently
Most of the causes above are avoidable, and the work that avoids them happens before any color goes down:
- Inspecting the slab and any existing coatings
- Checking for oil, sealers, curing compounds, and weak concrete
- Assessing moisture risk and testing where the situation calls for it
- Preparing mechanically to the profile the coating system requires
- Repairing cracks and defects with compatible materials
- Removing dust thoroughly before coating
- Monitoring temperature, humidity, and dew point
- Mixing and applying each product as specified
- Protecting the floor for the full cure schedule
None of this guarantees that concrete will never crack or that a floor cannot be damaged. It does remove most of the causes that make a coating fail early. The installation process guide walks through what each of these steps looks like on an actual job.
The Bottom Line
Epoxy floors usually peel because the coating never developed, or could not maintain, a strong bond with the concrete or with another coating layer. Preparation, contamination, moisture, weak concrete, mixing, conditions, timing, and early traffic account for most of it.
If you are looking at a floor that has come loose, start by working out where it separated. That single observation tells you more than the appearance of the damage does, and it is the first thing a competent installer will want to know.
If the floor in question is a residential garage, the guide to garage floor coatings covers the same ground from the buyer's side.